The transformer installation and configuration process starts long before your transformer arrives on site and continues all the way through energization and testing.
But how can you ensure your transformer is installed correctly and configured appropriately for your site?
This guide covers the essential guidelines for transformer installation and configuration, from site preparation through final inspection. Understanding these guidelines is key to avoiding mistakes that can bust your budget and timeline.
Understanding Transformer Installation Fundamentals
Transformer installation isn’t as simple as unloading a piece of equipment and flipping a switch. Instead, it’s a multi-step process that must be carefully managed to ensure a smooth energization.
The scope begins with site preparation. Verify your concrete pad can handle the load of your new transformer and confirm clearances for proper ventilation around the pad. Then, be sure to provide access for the unit's delivery.
From there, the installation process can begin. You will position the unit, connect the high- and low-voltage sides, ground the unit, and configure all tap settings and protective devices. Once that setup is complete, they should conduct a full testing and commissioning sequence before the transformer goes live.
Related read: Key Considerations When Specifying An Electrical Switchboard for a Project
Every transformer installation requires technical knowledge of the equipment and strict adherence to all NEC and manufacturer specifications. If you skip or rush through configuration, you may be setting your project up for problems or catastrophic failure in the long run.
A few of the most common challenges you might run into during the installation process:
- Site access and preparation issues: An uneven pad, too-tight clearances, or unexpected site conditions can throw a wrench in the works for your installation.
- Equipment handling and rigging complications: Transformers are heavy, expensive, and sensitive. If you’re not handling the unit properly, you can damage cabinets, bushings, or other components during installation.
- Connection and configuration errors: Incorrect tap settings, improper wire sizing, loose terminal connections, or backwards phase configurations can cause trouble for your site.
- Testing and commissioning oversights: Skipping pre-energization tests or rushing through commissioning means you won’t know if insulation is adequate, connections are secure, or protective devices will function properly until it’s too late.
When installation goes wrong, you’ll be faced with unplanned downtime while technicians troubleshoot issues that could have been prevented by proper installation. You are also at greater risk of safety hazards such as arc flash incidents and equipment failures.
Voided warranties are another consequence. Many transformer manufacturers require qualified installation by licensed electricians. If you cut corners or use unqualified personnel, you've just eliminated your recourse if the equipment fails.
With this understanding of the importance of proper installation in mind, we are ready to walk through the steps of proper transformer installation and configuration.
Pre-Installation Planning and Site Preparation
As we discussed earlier, most installation problems trace back to inadequate planning. If your site isn’t ready when your transformer arrives, you’ll find yourself scrambling to fix foundation issues or source missing components on the fly, which is a recipe for disaster.
1. Site readiness assessment
Your site’s foundation work needs to happen before the transformer arrives. Ensure that your concrete pad is completely level and meets load-bearing requirements. Any tilt or settling of the pad can create problems with cabinet sealing and moisture intrusion. In regions where the ground freezes, footings must be deep enough to prevent heave.
Next, consider your clearances. NEC defines minimum distances from structures, water sources, and public access areas. Answer these questions during the preparation process to help the entire installation go more smoothly.
2. Equipment inspection and documentation review
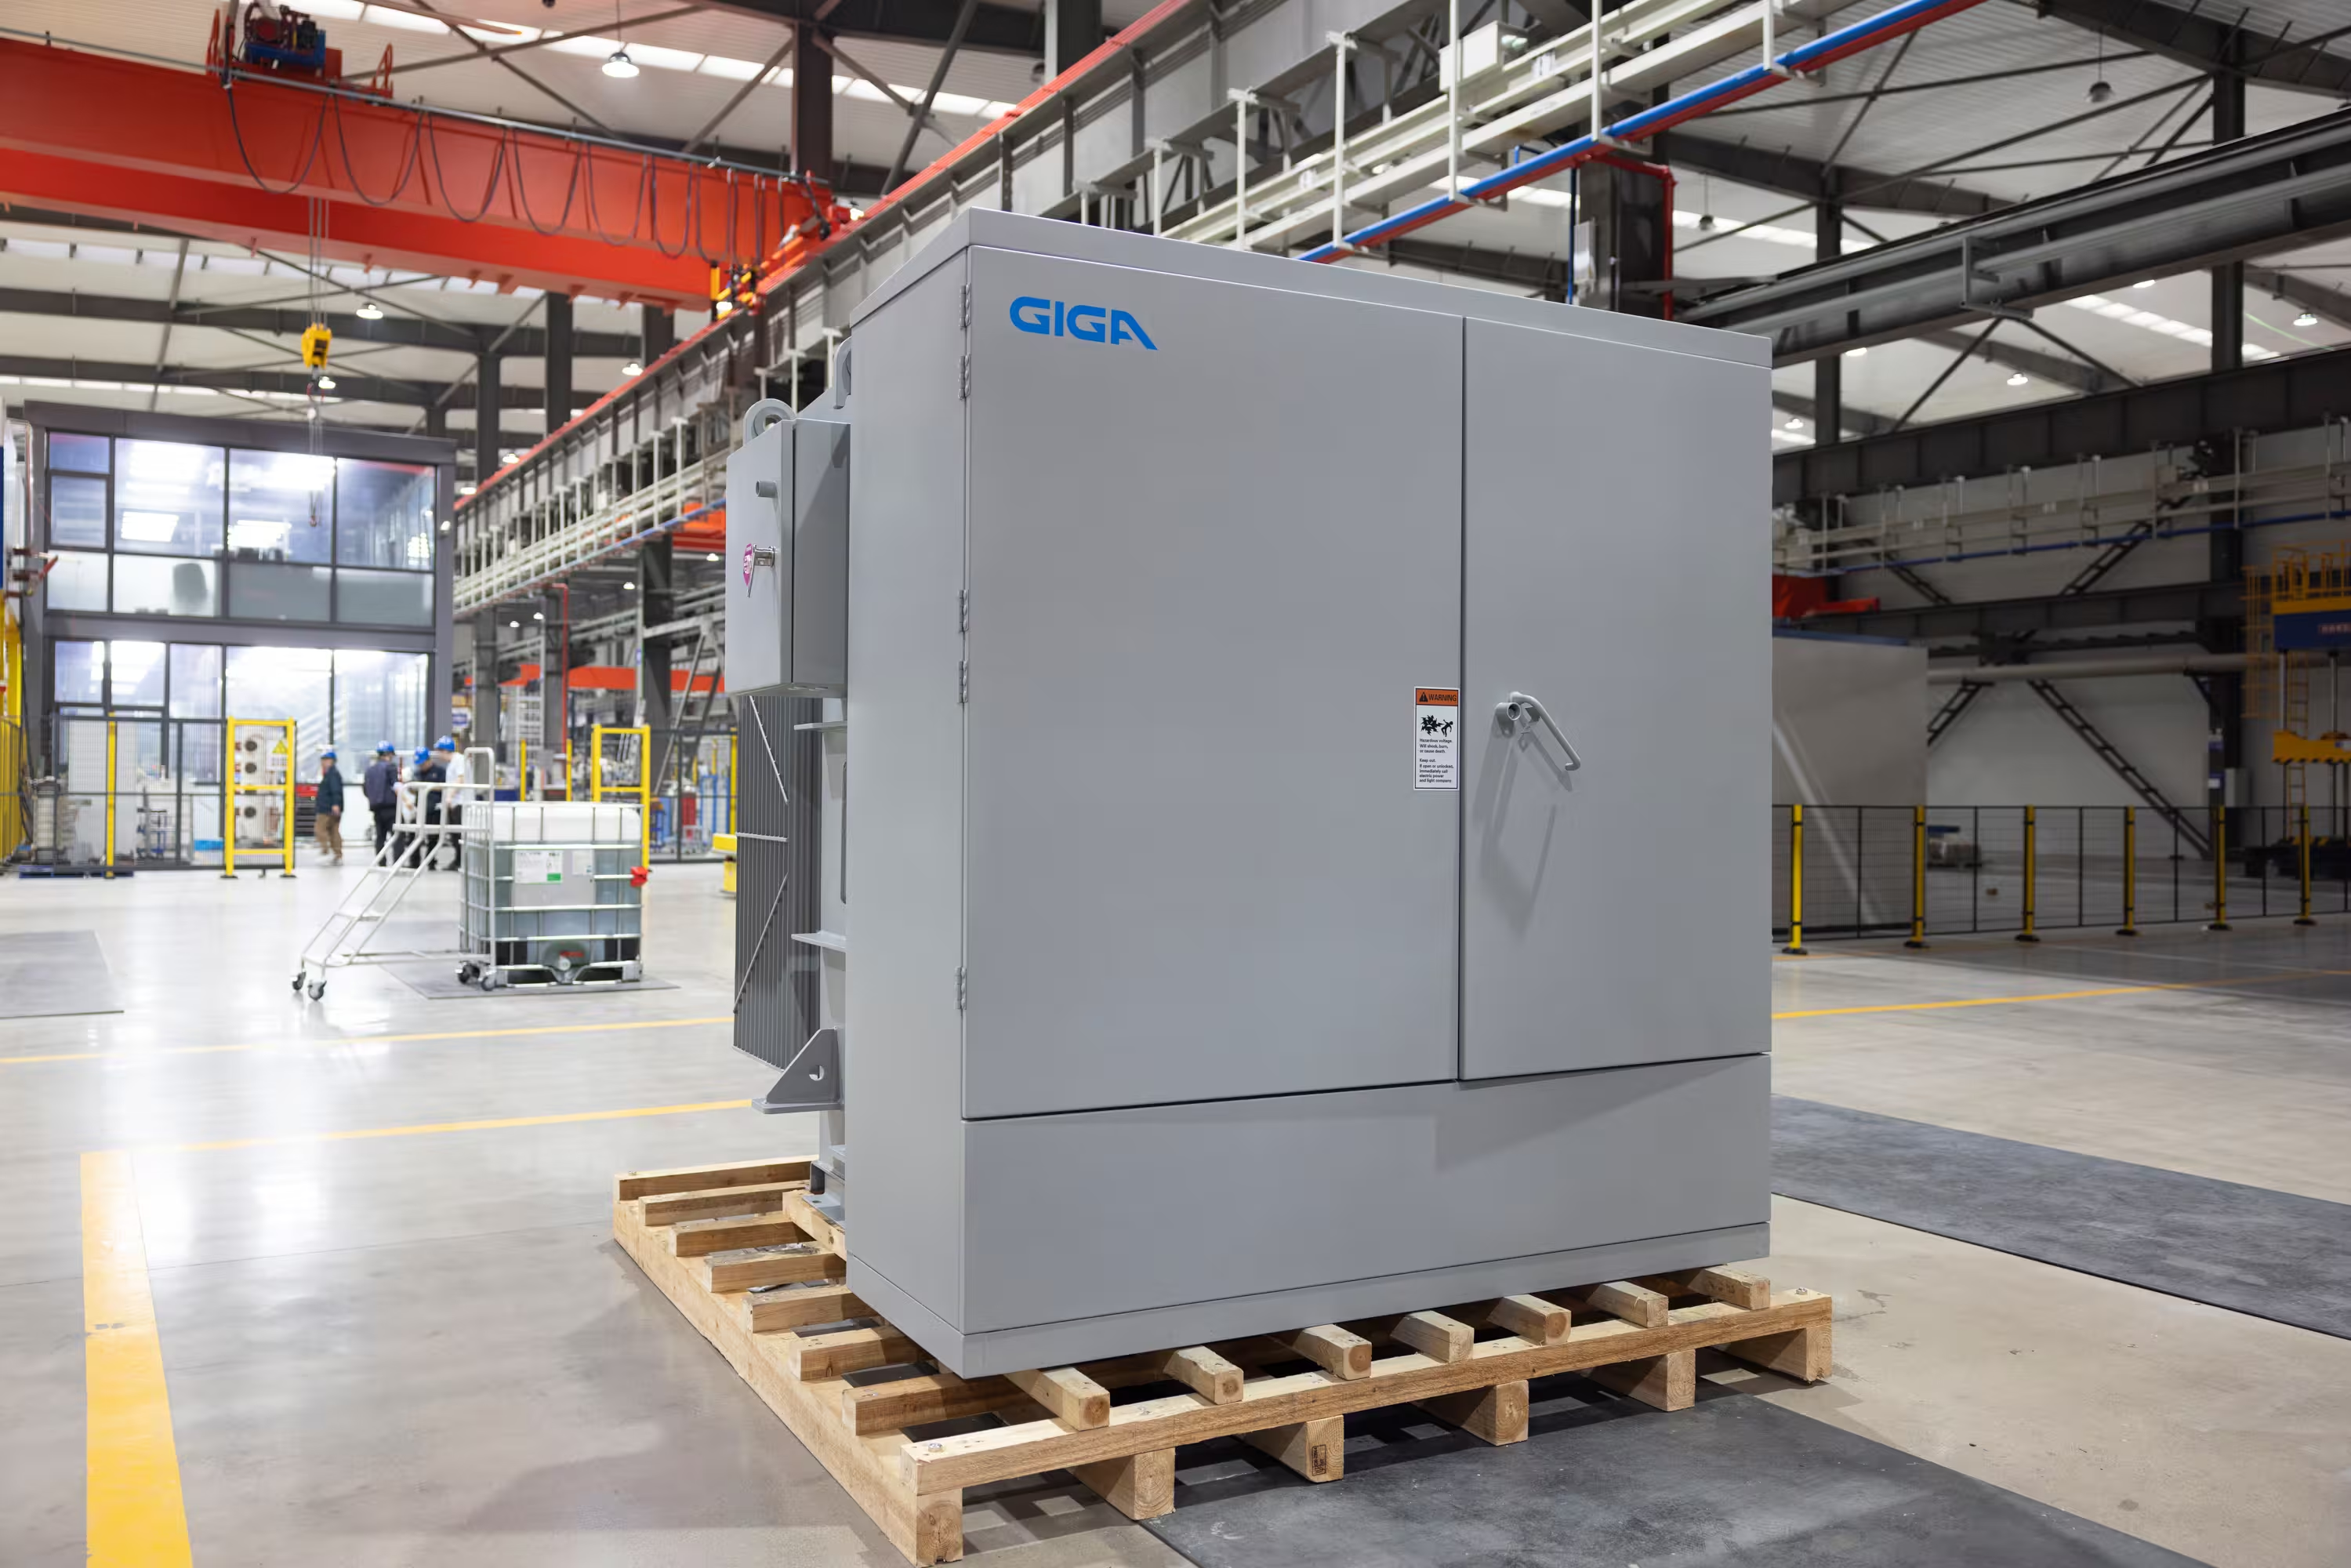
Next, you’ll need to inspect your transformer as soon as it arrives on your site.
Start with the nameplate. Verify the kVA rating, primary and secondary voltages, frequency, and vector group match your project requirements. A mismatch here should cause you to stop everything.
Next, check for shipping damage, like dents in the cabinet, damaged bushings, broken gauges, or oil leaks. Document and report any damage to the freight carrier immediately.
Review the manufacturer's installation manual and technical drawings at this stage. These documents specify torque values, tap settings, grounding requirements, and testing procedures.
Finally, confirm that you have all components like surge arresters, current transformers, monitoring devices, and any other equipment you specified in your original order.
Critical Safety Protocols During Transformer Installation
Transformer installation involves working with high-voltage equipment and heavy machinery. Safety protocols are critical for preventing injuries, equipment damage, and project-stopping incidents.
3. Lockout/tagout procedures
Before any work or installation can begin on an existing system, you need to complete lockout/tagout procedures. These OSHA-mandated procedures will help you prevent unexpected startup or the release of hazardous energy.
- De-energize and isolate all power sources feeding the transformer or connected to the installation area. This means opening disconnects, removing fuses, and verifying that no voltage is present using appropriate testing equipment.
- Communicate with all personnel on-site before de-energizing equipment. Everyone working on or near the installation needs to know when power will be off, when it will be back on, and which areas are affected.
- Document and verify that lockout/tagout procedures are in place. Use physical locks and tags on disconnects, and maintain a log of who applied them and when.
4. Grounding and bonding requirements
Improper grounding can cause fault conditions, so to keep operations safe, the NEC mandates proper grounding for all transformers.
System ground connections to the tank ground provide a fault current path that allows protective devices to operate correctly. Your transformer enclosure must be securely grounded, and the connection must be tested for proper sizing and continuity.
You must also consider neutral connections. The transformer's neutral must be bonded to the system neutral per the system grounding scheme. Getting this connection wrong can create ground loops, voltage imbalances, or situations where fault currents can't clear properly.
5. Personnel safety considerations
Transformer installation requires knowledge of medium-voltage equipment, transformer-specific connection requirements, and proper testing procedures. If the people doing the installation don't have that experience, you're increasing the risk for everyone on site.
You also need to keep PPE and safety equipment requirements in mind. Your required PPE depends on your site conditions and transformer, but, at a minimum, electricians need insulated gloves rated for the working voltage, safety glasses, and arc-rated clothing.
Working near energized equipment requires additional precautions, like maintaining proper working distances, using insulated tools, and having a second qualified person present.
You also need to have an emergency response plan in place in case of an incident. Everyone on site needs to know where the nearest first aid kit is located, how to contact emergency services, and what to do if someone is injured or equipment fails.
Mechanical Installation Best Practices
Next up is the mechanical installation. You must position your transformer correctly, mount it securely, and configure it properly for your system. Mistakes here can create safety hazards and lead to expensive rework.
6. Proper transformer positioning and mounting
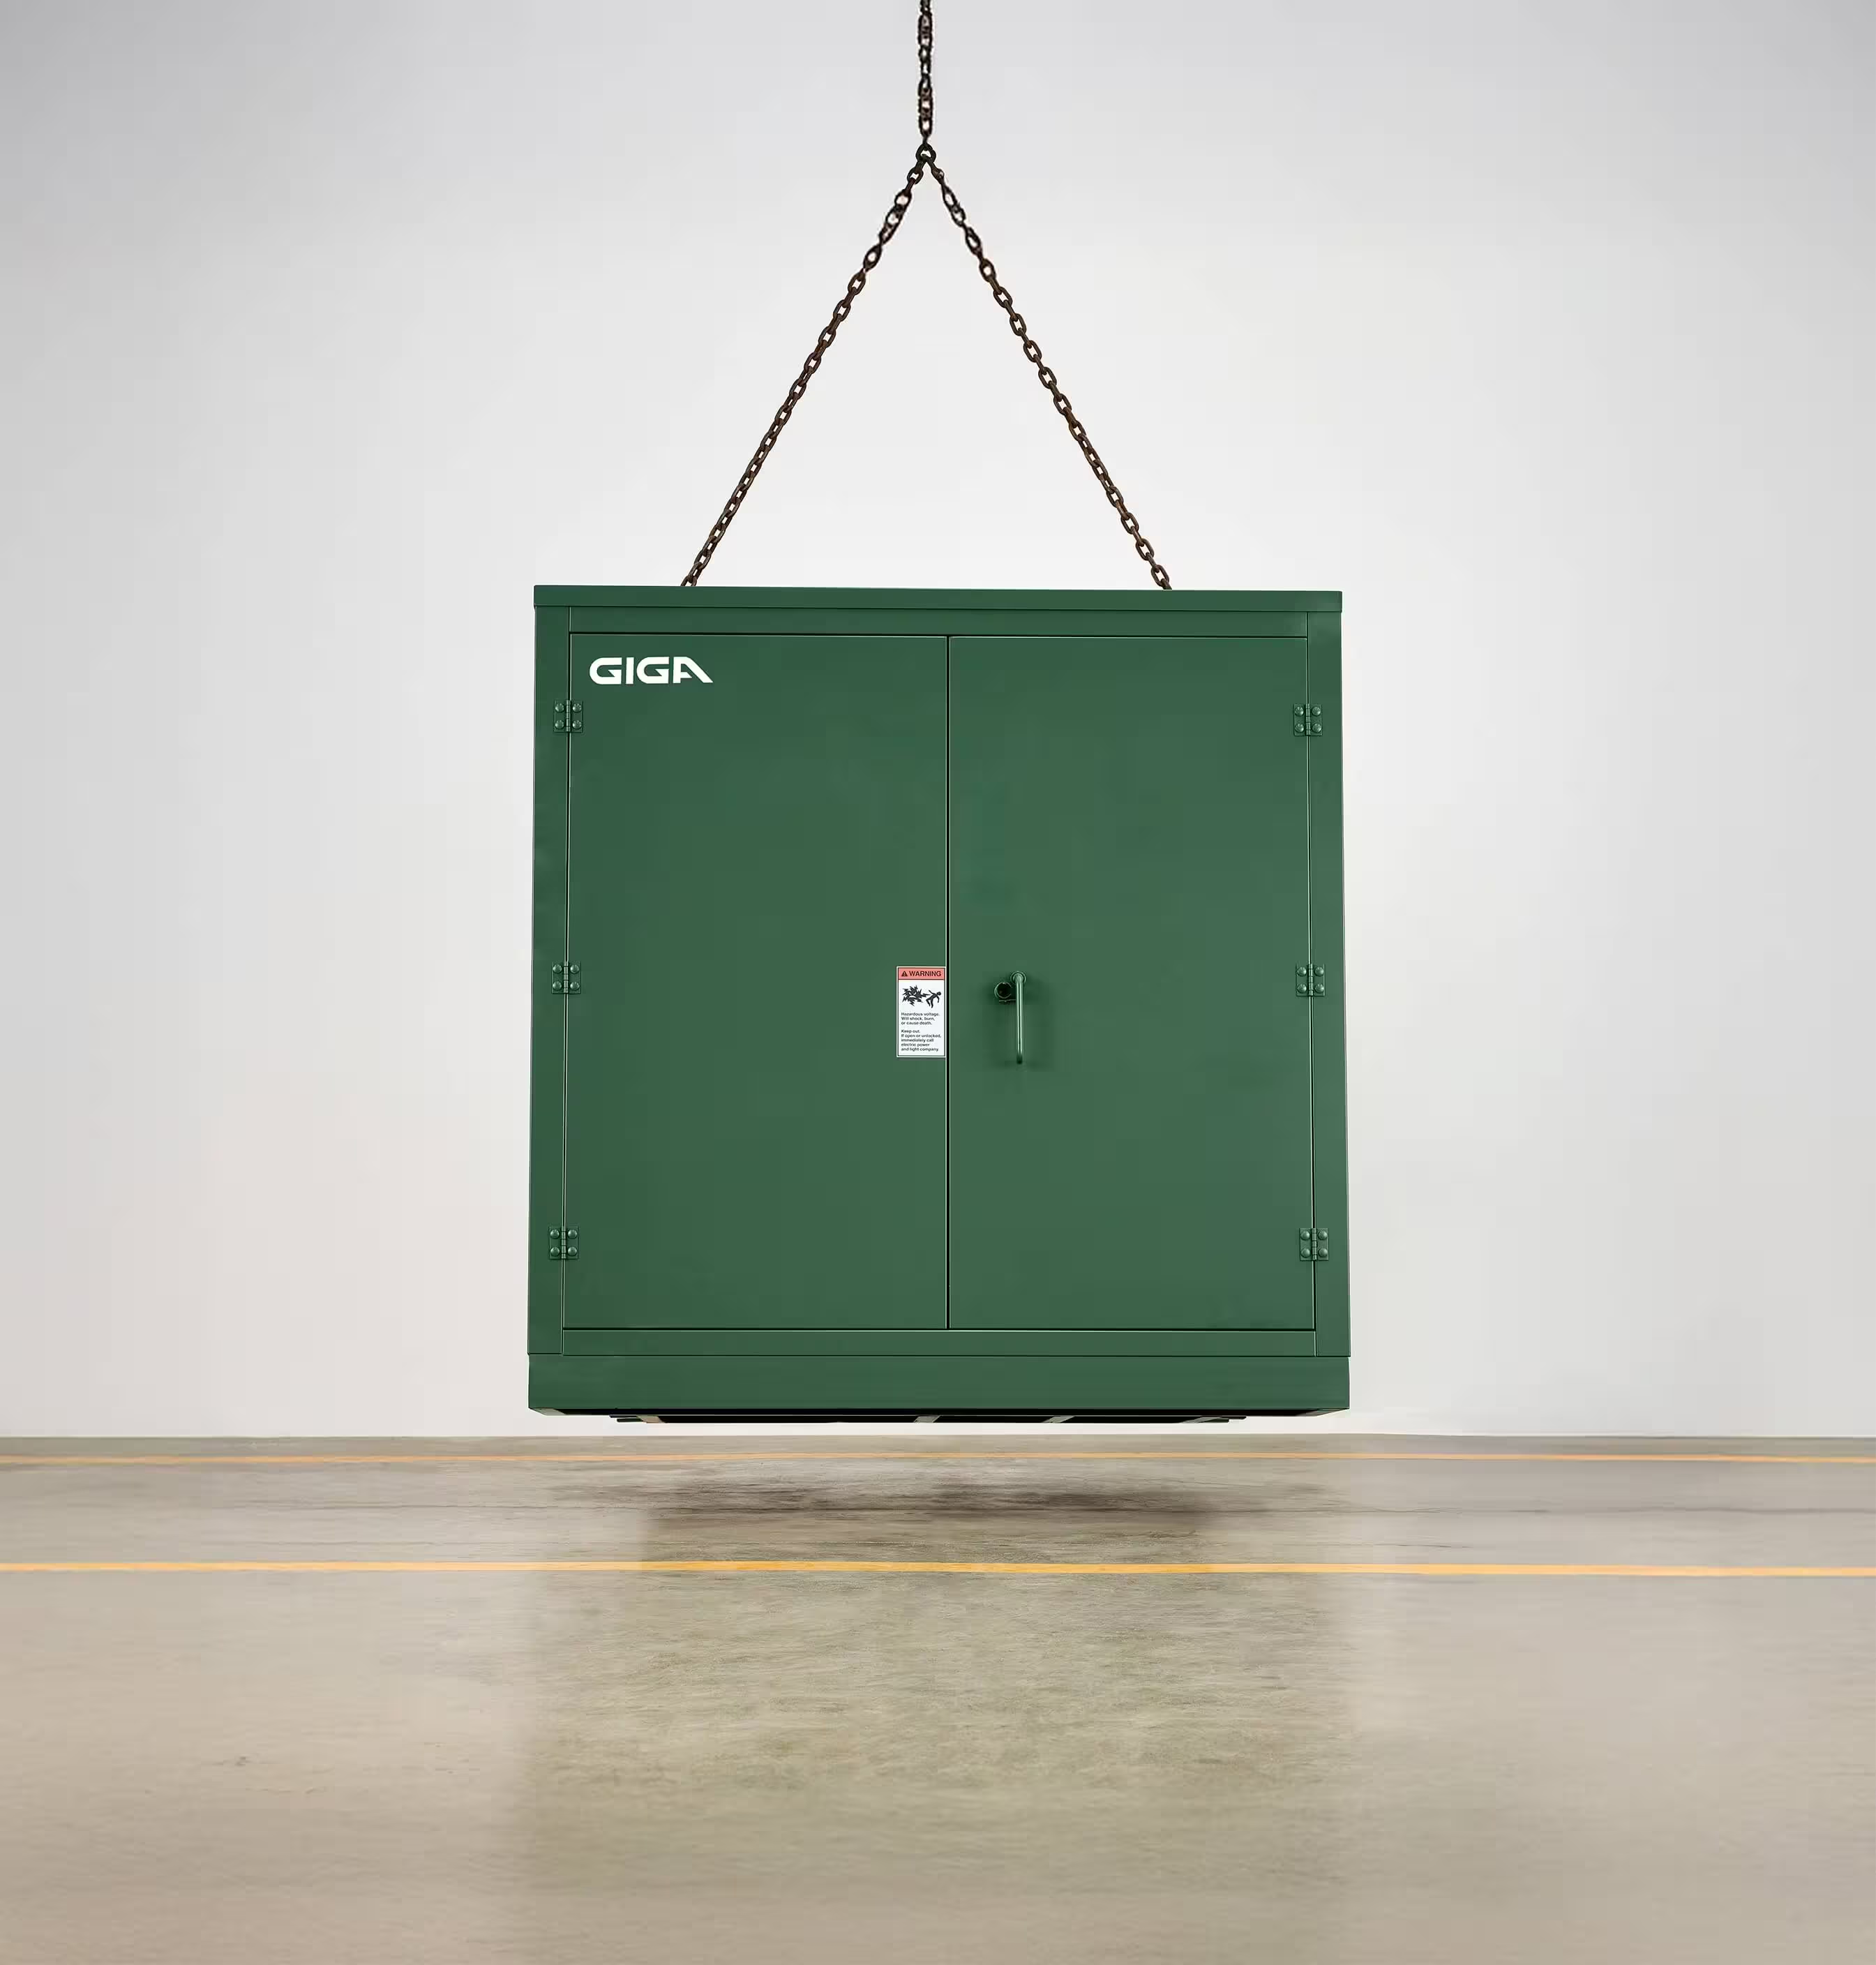
Transformers are heavy, expensive, and surprisingly easy to damage during handling. Equipment rigging requires the right tools and techniques. Never lift a transformer by its bushings, cabinet doors, or radiators. One wrong move with a forklift or crane can damage the cabinet, crack bushings, or shift internal components.
You also need to properly secure your transformer to its concrete pad or mounting surface. Most padmount transformers include mounting brackets on the base that bolt directly to the pad. Use the manufacturer-specified hardware and torque bolts to the specified values. The goal is to anchor the transformer so it can't shift, settle, or tip over time.
Next, ensure your transformer is level. A transformer that isn't level creates problems with oil distribution, compartment sealing, and moisture intrusion. Use a level to verify the unit sits flat on all sides before you bolt it down.
7. Connection configuration
Identifying high-side and low-side transformer bushings is the first step in making electrical connections. The high side handles incoming medium-voltage, and the low side delivers a stepped-down voltage to your load.
Your system might need a loop feed or a radial feed configuration. The right setup for your transformer depends on your system design.
- Radial feed means one set of bushings per phase. Power comes from the substation to the transformer and stops there.
- Loop feed uses two sets of bushings per phase, allowing power to flow through to downstream equipment. This provides redundancy and enables maintenance without completely de-energizing the circuit.
Load-break switch positioning is a configuration that applies to transformers with internal switching mechanisms. These switches let you select between feeders or isolate the transformer without external disconnects. Verify switch position before energization and document the configuration.
Finally, configure the tap changer settings. These settings adjust the transformer’s voltage ratio. Most padmount transformers use de-energized tap changers with a range of ±5 % of nominal voltage. To set your taps, you need to understand your expected load, input voltage variations, altitude, and operating temperatures. Incorrect tap settings result in an incorrect output voltage, potentially damaging downstream equipment. Set taps with the transformer de-energized and document the final position.
Electrical Connections and Configuration
Next, you need to configure your electrical connections. Let’s explore what that means and the steps involved.
8. Primary and secondary wiring
Wire sizing starts with determining your load current and selecting conductors capable of carrying it without overheating. Use NEC ampacity tables and account for ambient temperature, conduit fill, and derating factors, and consider these critical areas:
- Routing: Route wires through enclosure holes to protect insulation from sharp edges and maintain phase separation. Don't interfere with ventilation or create pinch points when closing cabinet doors.
- Bending space: UL 891 standards specify minimum bending space based on wire size. Don't force oversized conductors into undersized spaces.
- Terminal connections: Use a torque wrench set to manufacturer specifications. Apply an antioxidant compound to aluminum connections and verify that the connections are secure.
- Sealing: For outdoor installations, use cable glands or conduit seals to prevent moisture infiltration.
9. Protective devices and monitoring equipment
You’ll need protective devices and monitoring equipment to prevent transformer failure and keep an eye on the health of the unit over time.
First, you may want to consider surge arresters, depending on site conditions. Surge arresters protect the transformer and downstream equipment from voltage transients caused by lightning or switching events. Arresters mount on high-voltage bushings and provide a path for transient overvoltages to discharge to ground.
Depending on your site’s needs, it may be necessary to install current transformers (CTs) for metering, relaying, and other monitoring functions. CTs clamp around conductors and step down current to levels suitable for metering equipment. Install CTs with the correct orientation and verify that CT ratios match the equipment they feed.
Testing and Commissioning Procedures
Finally, you need to conduct the proper testing and commissioning procedures. These processes verify that everything you’ve done up until this point actually works. This is the validation step that catches problems before they become failures under load.
10. Pre-energization testing
Before energizing your transformer, you need to conduct some critical tests.
Insulation resistance (IR) testing measures the integrity of the insulation system using a megohmmeter. Low IR values indicate moisture contamination or insulation degradation, which you’ll need to address before energization.
Turns ratio testing verifies that the transformer's voltage ratio matches its nameplate. A turns ratio tester applies voltage to the primary and measures the secondary output; any deviations here signal trouble for your installation as a whole.
Additional pre-energization tests include:
- Winding resistance measurements: Compare results between phases and keep an eye out for significant differences.
- Bushing capacitance and dissipation factor testing: Test your bushings to detect moisture contamination or insulation breakdown before failure.
- Fluid levels and pressure-relief valves: Check that your oil level is within an acceptable range and that pressure-relief valves are properly installed and unobstructed.
11. Energization sequence
Notify all personnel before energizing your transformer. Everyone working on or near the transformer needs to know exactly when power will be applied. Verify that everyone is in the loop and that all personnel are clear of the equipment.
Your initial energization should have no load. This means you’ll apply primary voltage without any secondary load connected. This step verifies that the transformer is energized properly without tripping protective devices.
Next, measure your secondary voltage on all three phases, verifying it matches the expected values. Voltage imbalances at this stage indicate issues with connections, tap settings, or the transformer as a whole.
Load application and voltage verification under full load is the final commissioning step. Gradually apply load and monitor secondary voltage to ensure it remains within acceptable limits. Normal voltage drop under load is expected, but excessive drop indicates undersized transformers, incorrect tap settings, or high-impedance connections.
12. Final inspection and documentation
Finally, you’ll walk through your final inspection and documentation. Verify that all connections are secure and properly torqued before closing everything up. Go through every terminal connection, ground connection, and bushing connection one more time with a torque wrench just to be safe.
Next, confirm that cabinet doors are closed and locked. Verify compartment doors seal, latches engage, and security devices are installed. An unlocked enclosure is a safety hazard and code violation.
Document your final configuration and settings. Be sure to take note of:
- Tap positions
- Protective device settings
- CT ratios
- Voltage readings under no-load and full-load conditions
And be sure to note any deviations from standard procedures. This data becomes the baseline for future troubleshooting.
Why Professional Installation and Delivery Matter
As this in-depth process shows, transformer installation is a technical task that requires the right expertise and skills. When it's done wrong, it can impact safety, project timelines, equipment performance, and long-term operational costs.
Improper installation creates problems like safety hazards, equipment failures, and voided warranty. NEC violations and failed inspections can also delay energization and create liability for your site. Furthermore, any voltage irregularities from incorrect tap settings or connection errors can damage downstream equipment worth the cost of your transformer several times over.
The right installation partner makes the difference between smooth commissioning and a project nightmare. What to look for:
- Experts with years of transformer experience. Not just general electrical work, but actual knowledge of medium voltage equipment, vector groups, tap changers, and proper testing procedures.
- Site development coordination and project management capabilities for complex installations.
- After-installation support that doesn't end at energization. You need a partner who's available when troubleshooting questions come up weeks or months later.
At Giga, we don't ship transformers and wish you luck. Our in-house technical teams understand the equipment because we built it. We provide site support from engineering through commissioning, and our service doesn't disappear after delivery. We're responsive when you need help troubleshooting or optimizing performance. And when something needs attention, you're not bouncing between the manufacturer, the installer, and the engineer trying to figure out who's responsible.
Build a quote today to get the full picture of what Giga can do for you.
Partner with Giga for Transformer Installation Done Right
Proper transformer installation and configuration requires technical expertise and careful coordination. If you get any step wrong, you’re looking at delays and safety risks. If you want your site energization to go smoothly, you need the right equipment and the right installation partner.
Giga's hands-on approach is simple: We deliver solutions with accountability from drawings through energization. Our in-house technical teams understand the equipment because we built it. We're responsive when you need support, and we own the outcome when problems need solving.
When you're ready to discuss your transformer project, our technical team is here to help you plan for success from day one. Build a quote or chat with our team about your upcoming build to get started.
.avif)